Are you tired and frustrated with your meat's bland, dry end? If you are looking for a quick fix for your pork belly's burnt ends, you've come to the right place. This article will explain how to make the meat come apart like a charm. The Kansas City version is a great choice if you are looking for a good brisket hamburger.
Pork belly burnt ends
The sweet, spicy, and almost candy-like flavor of smoked pork belly burnt ends is a result of smoking. To achieve an internal temperature of 195-203 degrees F, it is best to smoke them for at least three hours. After smoking, glaze them and let them rest for 10 minutes before you serve. It is possible to smoke pork belly browned ends for a shorter period of time.
Cut the pork belly into small pieces, approximately 1.5 inches in square. Brush with light olive and 1/4 teaspoon salt per pound. There are also instructions on how you can make your own rub. While you're preparing your cooker, apply the rub and make sure it adheres. Pork belly burnt ends should shrink as they cook, so you might want to freeze them for a few minutes first.
Place the pork belly on an aluminum plate before grilling. Spread the rub on the pork belly and cover it in butter with butter pads. Drizzle the sauce over the pork belly, and allow it to smoke for two hours. Check the internal temperature every half hour or so. If it does not reach 190 degrees, continue to cook it for at least 30 minutes more before serving. Transfer the smoked bacon belly to a serving plate.
To serve your pork belly roasted ends, mix the sauce with the pork belly. The sauce will affect the flavor of the burnt ends, so be careful when choosing a sauce. Maple bourbon sauce is sweet and works well, while hot sauce adds a kick of heat. A homemade BBQ sauce will give you a more smokey flavor. For Paleo, make a whole30 barbecue sauce with Chipotle.
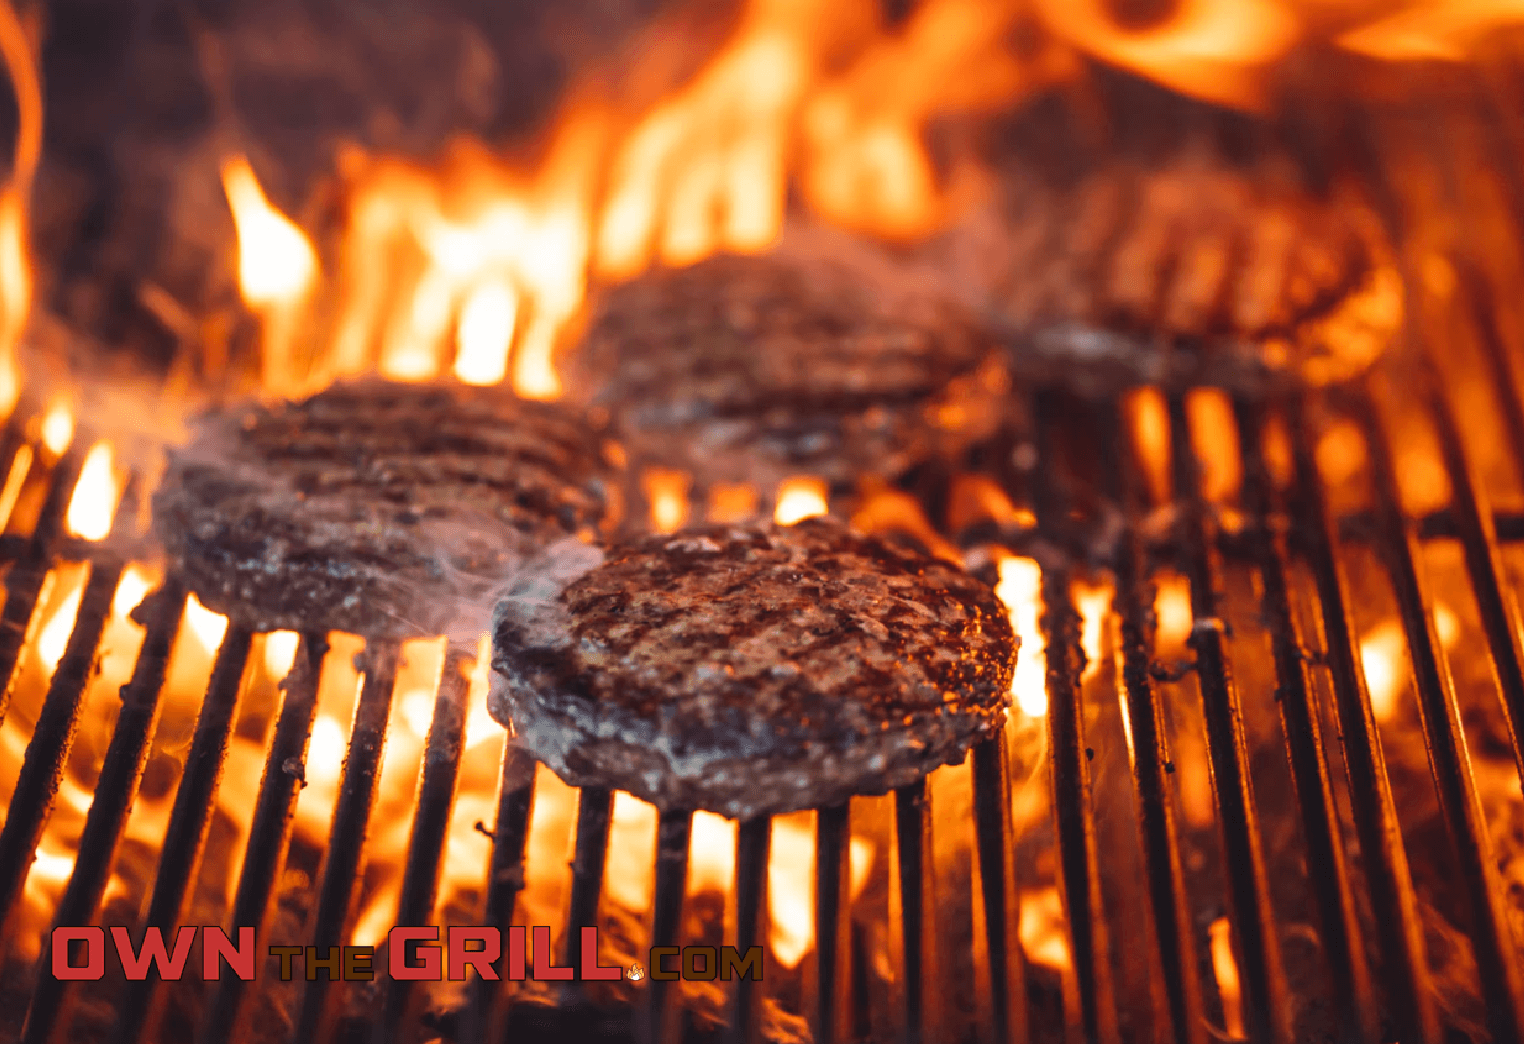
Slow low heat is the best way to grill pork belly burned ends. This will yield succulent and juicy pork belly-burnt ends. It will require patience, but will be well worth the wait. The entire process takes around two and a quarter hours. There is very little hand-off cooking required. This snack is great for game day, or as an appetizer. However, before you start cooking the pork belly burnt ends, remember to wash your hands thoroughly with soap and water.
Brisket burnt ends
The tender, delicious end of a brisket is its burnt ends. There are many ways to prepare it. One of its best qualities is that it can be prepared with any type of seasoning. The rub can be sweet, salty, spicy, or anything else your heart desires. First rub the brisket in a dry spice mixture. Bake at 250°F for approximately one hour.
Traditionally, burnt ends were overcooked edges that were trimmed by the kitchen staff. These pieces were then given to the customers as a free gift. In a 1970 Calvin Trillin book, he describes how the counterman at a Kansas City restaurant pulled the brisket's burned ends to the side while cutting the beef. It was a tender, delicious treat that was ideal for barbecue fans.
But how can a rub for brisket burnt ends be made? The secret lies in the ingredients. Although the traditional rub for brisket ends can be used, it can be modified to your liking. You must ensure that the beef you are using is in top condition. If it is spoiled, you'll need to cook it longer or buy new brisket. The best cuts to eat are the burnt ends.
You can buy a brisket from the butcher or grocery store. You don't need to be skilled at trimming briskets, but it is worth removing all excess fat. In a bowl, combine all of the rub ingredients. As the fat will absorb the mixture, make sure you remove all fibre. If necessary, you can repeat the process. Perfect barbecue brisket ends will be succulent, juicy, and delicious.
Jeffs has a recipe for making a rub to make brisket-burnt ends. Jeff's rub is available to be mixed with the meat. The Poor Man's recipe is also available. The rub is designed to cook the meat to 165° internal. It's then placed in a deep aluminum tray, covered with bourbon barbecue sauce, and cooked until the end has reached the desired internal temperature.
Perfect cut for brisket burnt ends
A brisket's browned ends is the best cut of beef for BBQ. These fattened bits pair perfectly with seasonal corn on a cob. They are juicy, smoky-flavored, and perfectly flavored. They have the perfect marbling and the heat elevates their flavor. It doesn't mean you have to stick to one type BBQ-ed brisket.
There are two ways to make brisket perfect. Cut the brisket in slices about 3-4 inches long by 1/4 inch thick. You should use a long, straight knife when slicing. The cuts should be even and have a consistent fat line at their bottom. Each slice should also have a smoke ring. Trim the brisket's burned ends simultaneously to achieve the perfect cut.
The next step will be to decide which side of brisket you want to serve the burned ends. The majority of people serve these as a starter. But, the burnt ends can also become a main dish when paired with southern staples like potato salad, collard greens, and potato salad. The best thing about these barbecued end is that they can be served chilled or reheated. You will definitely want to try them!
For perfect brisket burned ends, you need to know that a Brisket must be cooked to 165°F before it can be carved. It should be tender, moist, and with a small amount of fat. Don't overcook it. A long slicer knife can be used to separate the point and muscle of brisket if you are not familiar with how to slice it. After cutting the point you will need to place it on a tray topped with honey or sauce. Once the point is cooked you can place the cubes into a tray with sauce or honey and then smoke them for a few hours. You can then probe the burnt ends with a meat thermometer or a knife, much like you would a steak.
There is no better cut than the point for perfect brisket. The bark should be the dominant part of this cut. It's the crunchiness that makes these ends so delicious, and the intense beefy flavor compliments any sauce or cooking method. Kansas City restaurants will even let you enjoy burnt beef brisket at no cost.
Kansas City style brisket burnt ends
You can make a KC barbecue or a homemade brisket by following these simple steps. You will need to heat the smoker to 250°F and then add the wood according the manufacturer's instructions. To create a moist atmosphere, you can place a water bowl in the smoker. The water helps to keep the meat moist by helping it stick to the smoker.
The "burnt ends" are often used to describe the point of a Brisket. But in reality, the meat isn't burned. The name "burnt end" is derived from the "bark," which is a mixture of spices and rendered fat that turns dark brown in the smoke. It has a strong flavor and is not burned. If you don't want to purchase a whole brisket, you can use the point and cook it separately. Trim the point before you start cooking.
You can't go wrong with brisket-baked end sandwiches. Many of them end-up on a cuttingboard. They are a common dish on the barbeque menu. It's no surprise that burnt ends are irresistible. While waiting for their order, those in line will reach for them while they wait. The good news is that this situation does not have to last forever. There is a simple solution.
Texas is home to brisket, which has been the norm for centuries. This particular cut was developed in Kansas City. This is why brisket roasted ends in Kansas City have become a popular topic. These pieces are great whether you are trying to make a unique take on a recipe or cooking a traditional KC-style barbecue.
To start the process, separate the point from the flat. Although most people won't be able to find the point, it doesn't mean that you shouldn't try. If you're able to find a point skip this step. Slice the brisket lengthwise into halves. After that, make thin slices of the flat. The flat portion of the brisket will be hot enough for you to cut and the point will have enough fat to make a sandwich.
FAQ
What's the difference between a professional chef and an amateur cook?
A chef prepares food to be served to others. A cook prepares meals for others. Both jobs require the preparation of food. However, chefs work directly with their customers. This means they may have to decide what to serve guests based on their preferences. A cook doesn't need to interact with clients. Instead, a cook makes sure the food tastes good before delivering it to customers.
What are your basic cooking skills
Basic cooking skills include the ability to read recipes and measure ingredients. These skills are essential if you wish to cook well for yourself. Cooking is an excellent way to save money because you don’t have the need to eat out as often.
What are some of the benefits of using slow cookers?
Slow cookers are useful because they can make delicious meals in a fraction of the time. Slow cooker recipes are healthier than traditional ones because they use less oil and fat. Additionally, slow cookers are more convenient than traditional recipes because they take care for themselves while you're sleeping.
What's the best way to keep leftovers safe?
Tupperware containers can be used to store leftovers. These containers keep food fresh and prevent odors forming. They can also keep food warm longer. Freezer bags can be used to freeze any leftover food. You can freeze leftover food by placing it in another freezer bag. This will prevent any air from escaping. Once the food has been frozen, transfer it into an airtight container such as a zip lock bag.
Statistics
- The median pay for a chef or head cook is $53,380 per year or $25.66/hour, according to the U.S. Bureau of Labor Statistics (BLS). (learnhowtobecome.org)
- On average, chefs earn $58,740 a year, according to the BLS. - learnhowtobecome.org
- According to the BLS, chefs earn $58,740 a year. (learnhowtobecome.org)
External Links
How To
How to make an omelet that is perfect
Omelets are one of my favorite foods to eat at breakfast. How do you make them perfect? There are many recipes and methods I tried, but none worked. So I wanted to share some tips and tricks so that you can make delicious, fluffy omelets every morn.
Before we start making omelets, let's remember that eggs are temperamental. It is important that eggs are fresh from an organic market and kept cool until used. You must keep them cool enough to allow the whites to form properly and the yolks to become too runny if they're not kept at the right temperature. This causes your omelets to look oddly colored. If you want to make omelets right away, it's best not to use eggs that are too cold.
Another tip is to separate the egg before adding it to the pan. The yolk and white should not be mixed together as this can cause the omelet's curdle.
You might burn the bottom of the egg if you place the egg directly on the stovetop. This could ruin the texture of your omelet. Instead, microwave the egg for 10 seconds before adding it to the pan. The microwave heat will cook the egg just right without making it too hot.
Next, let us talk about how to mix the eggs. When you mix eggs together, you want to beat them well. You can do this by turning the bowl of your mixer upside down. Now shake the bowl vigorously. By doing this, the egg is thoroughly mixed with the air in the bowl.
Now comes the fun part: adding the milk to your mixture. Mix half of the milk with the eggs. Then fold the eggs in half into the remaining milk. If you still see streaks of eggs, don't worry. These streaks will disappear once the omelet has been turned over.
After you have folded your eggs, heat up the oil on medium heat. Wait for it to get hot. Once the oil begins to heat, add 1/4 cup butter and swirl the pan to coat it. Next, carefully open the lid and sprinkle salt into your pan. Salt will prevent the omelet sticking to the pan.
Cover the pan once you have formed the omelet. Wait for the top to set. Use a spatula to flip the omelet or turn the pan upside-down. Cook the opposite side for another minute. Serve immediately after removing the omelet from its pan.
This recipe is best made with whole milk. However, it can also be used with skimmed milk.